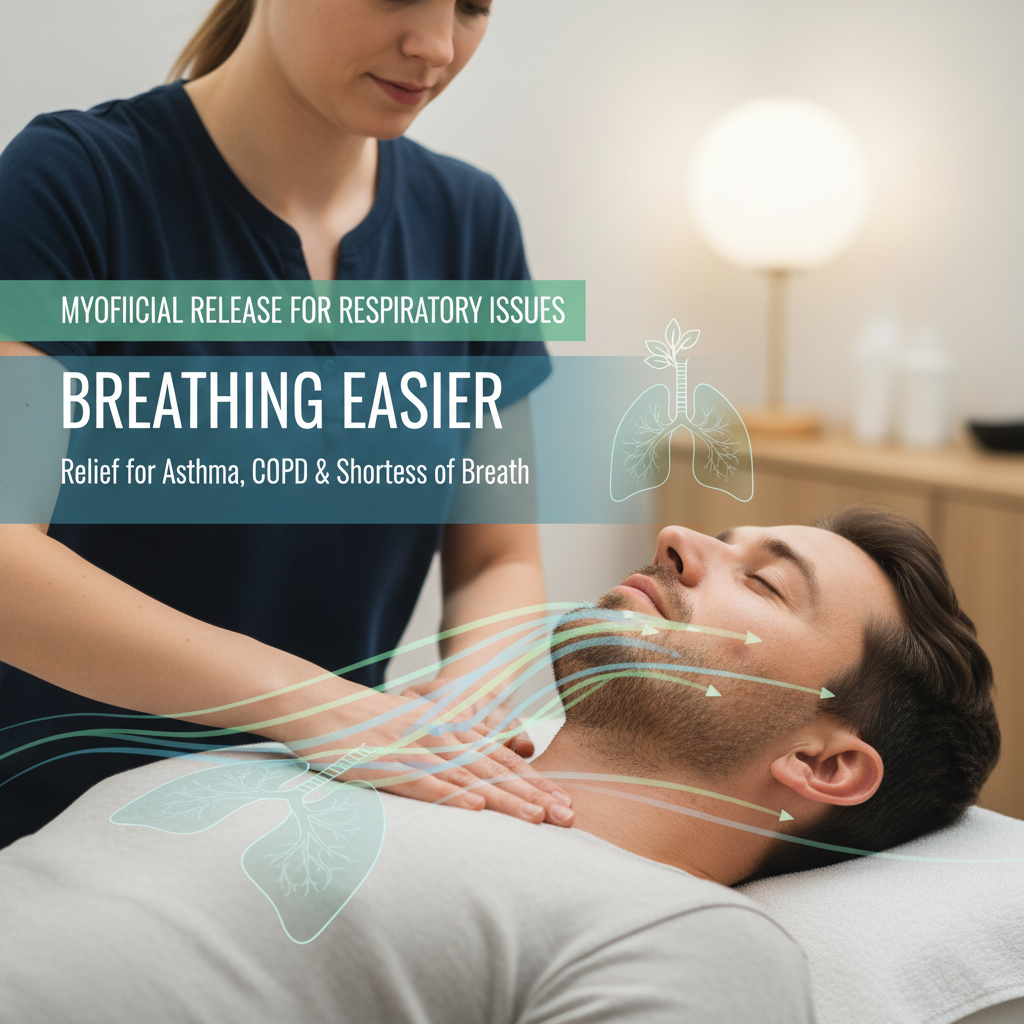
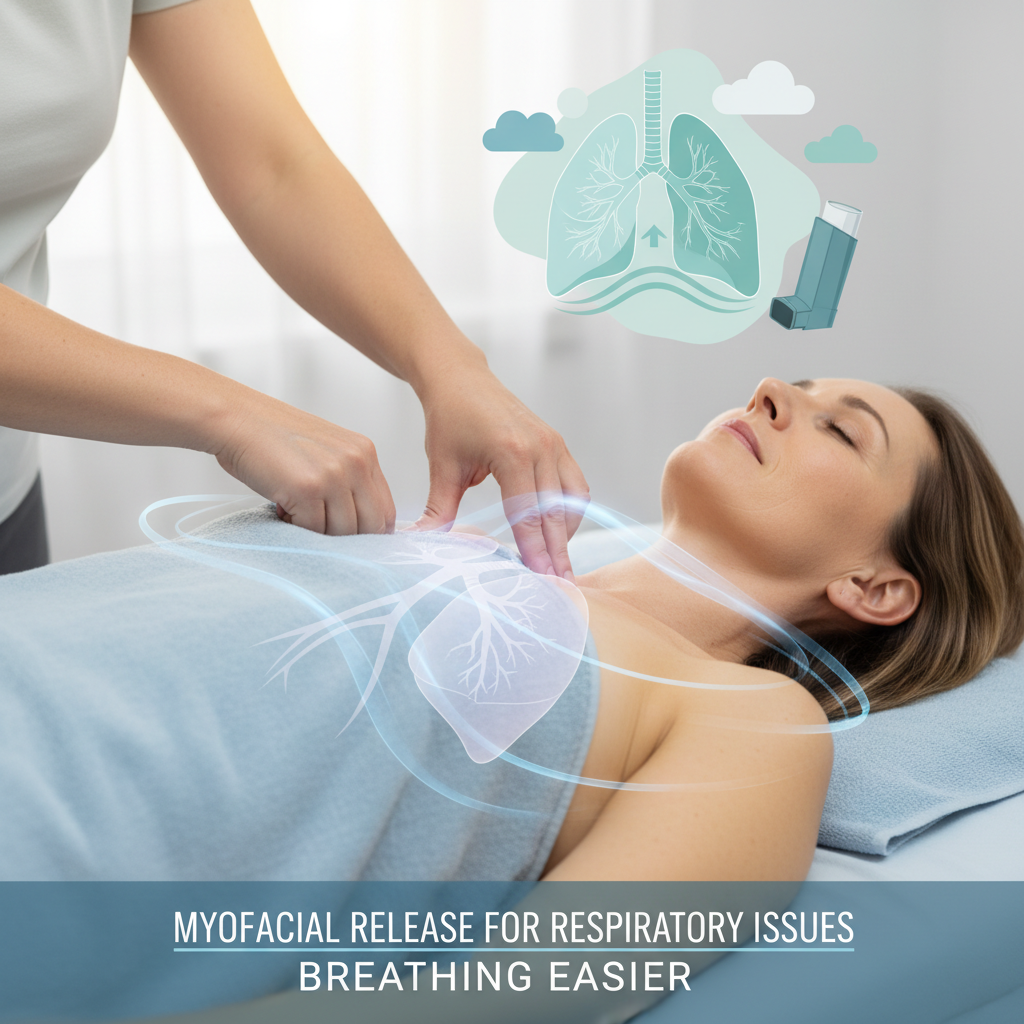
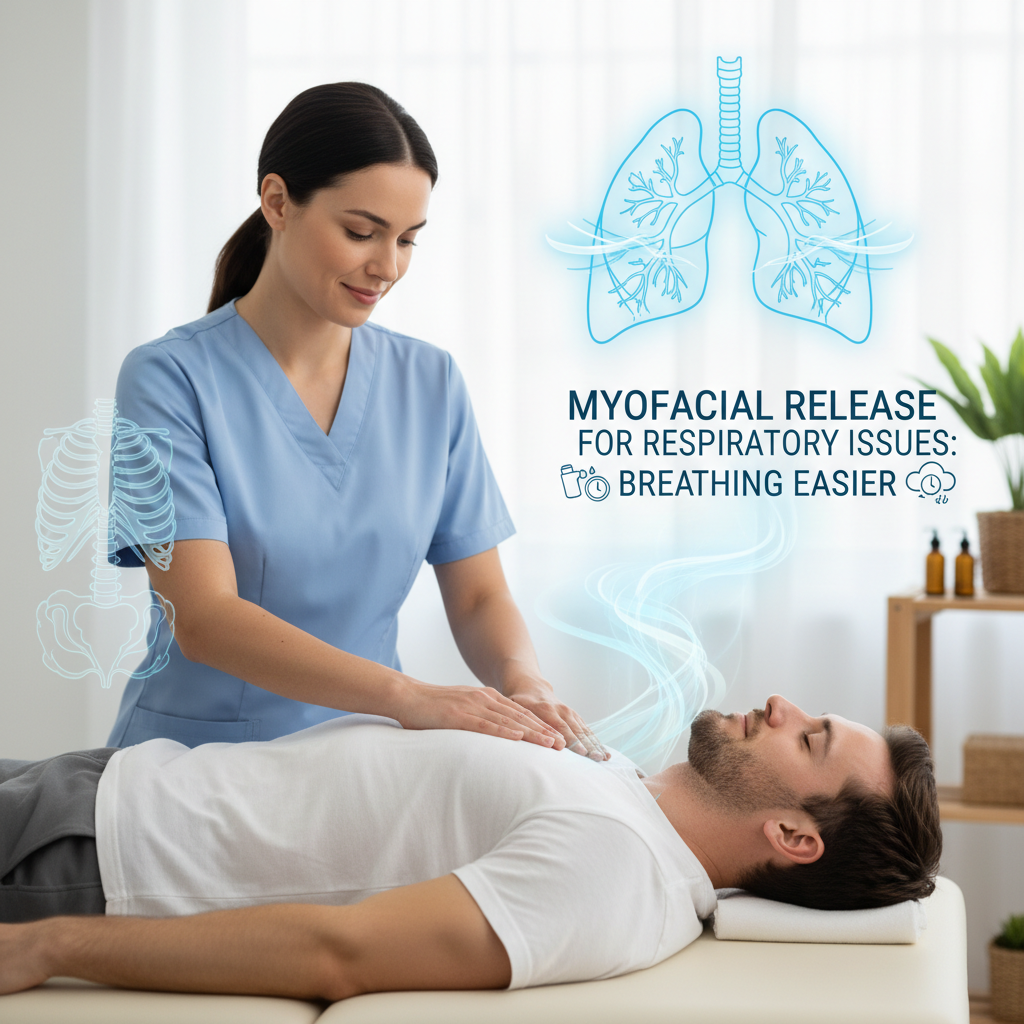
Myofascial Release for Respiratory Issues: Breathing Easier
If you live with asthma, COPD, or frequent shortness of breath and you feel like your chest is tight even when meds are working, this guide is for you — you’re not imagining it. The frustration of still feeling restricted after inhalers, or of breathlessness that limits daily life, is real. Here you’ll find clear, practical myofascial release techniques and safety steps that help free the chest wall, improve diaphragm mobility, and make breathing feel easier — plus guidance on when to get professional care (we can help with hands-on sessions if you prefer).
What is myofascial release and how can it help breathing?
Myofascial release is a hands-on and self-care approach focused on the fascia – the connective tissue that wraps muscles, bones, nerves, and organs. Fascial restrictions around the rib cage, neck, and diaphragm can limit chest expansion and increase the work of breathing. Loosening those restrictions often improves rib mobility, lifts tension from accessory breathing muscles, and can reduce the sense of breathlessness.
Why does that matter? Because breathing isn’t only about your lungs. It’s about the thoracic cage, the diaphragm, the neck, and the soft tissue around them. If the fascia is tight, your lungs can’t expand fully, and you compensate by using neck and shoulder muscles (which is inefficient and tiring). Myofascial work targets those specific limitations, so breathing becomes more efficient, less effortful. I’ve seen patients gain noticeable relief after just a few sessions – breathing that used to feel shallow opens up, and exercise tolerance rises.
Can myofascial release help asthma, COPD, and shortness of breath?
Short answer: yes, often it can help as part of a broader plan. Myofascial release doesn’t replace inhalers, oxygen, or prescribed COPD treatments, but it can reduce mechanical restrictions that worsen breathlessness. For people with asthma, releasing neck and chest fascia may lower accessory muscle overuse and reduce the sensation of chest tightness. For COPD, improving chest wall mobility and diaphragm excursion can reduce the effort needed to breathe.
How fast will you notice change? Some people feel easier breathing immediately after a session (often a subjective drop in tightness). Others need 2 to 6 sessions combined with daily self-care to create lasting change. Results depend on the degree of fascial restriction, presence of airway inflammation, and how consistent you are with practice.
Top 10 myofascial release techniques for respiratory issues
-
1. Diaphragm myofascial release (manual and self-care)
Why it helps: The diaphragm is the primary muscle of breathing. If its attachments are tight (to the lower ribs and lumbar spine), it can’t descend fully, limiting inhalation.
How to do it (self-care): Lie on your back with knees bent. Put 2 fingertips under the lower edge of your rib cage where you feel a gentle notch. Breathe slowly into your belly, and on exhalation apply gentle sustained pressure upward toward your head – hold 30 seconds while breathing slowly. Repeat 3 times. Do this once daily, then increase to twice daily if tolerated.
What to expect: A sense of the ribs expanding more easily, less upper-chest breathing. Mild discomfort is okay, sharp pain is not.
-
2. Rib mobilization – posterolateral rib springing
Why it helps: Ribs that don’t move freely limit lung expansion. Mobilizing the posterior ribs improves overall chest wall mechanics.
How to do it (with partner or therapist): Lying on your side, the therapist places palms over the posterolateral ribs and gives gentle rhythmic springs away from the spine timed with inhalation. For self-care, use a lacrosse ball or tennis ball against the back wall and roll along the rib line for 1 to 2 minutes per side, then breathe deeply 3 times.
Frequency: 3 to 5 minutes a day. If you have osteoporosis or recent fractures, skip this and see a clinician.
-
3. Scalenes and neck fascia release
Why it helps: The scalenes raise the first two ribs and are commonly overused in breathlessness, especially with anxiety. Tight scalenes make breathing feel labored.
How to do it: Sit upright. Place fingers at the base of your neck (just behind the collarbone) and gently glide them outward toward the shoulder while tucking your chin slightly – hold 20 to 30 seconds while breathing slowly. Repeat 3 times on each side. Don’t press hard over the carotid artery or jugular – gentle pressure only.
Tip: This also helps with throat tightness and voice strain (if you sing or speak a lot).
-
4. Pectoralis major and minor release (chest opening)
Why it helps: Tight chest muscles pull the shoulders forward, compressing the front of the rib cage and limiting inhalation.
How to do it: Stand facing a doorframe. Place your forearm on the jamb with elbow at shoulder height, step forward gently until you feel a stretch in the front of the shoulder and chest. Hold 30 seconds while breathing into the chest, repeat 3 times each side. For deeper release, a foam roller across your upper back with arms wide helps open the chest.
-
5. Upper thoracic and sternum myofascial release
Why it helps: Adhesions or tight fascia around the sternum and upper thorax restrict anterior chest movement and can amplify the sensation of tightness.
How to do it (gentle): Lie on a rolled towel placed lengthwise beneath the sternum at the soft area just below the collarbones (use a thin roll). Rest for 1 to 2 minutes, breathing slowly. If you feel lightheaded, stop. Always be cautious with sternum work if you’ve had chest surgery or pacemaker.
-
6. Intercostal release (between the ribs)
Why it helps: Tight intercostal muscles restrict rib separation during breath. Releasing them increases expansion.
How to do it: Sit or stand. Place fingers between the ribs on the side of the chest and apply gentle steady pressure while asking for a deep breath in, then slow exhale. Hold 20 to 30 seconds. Move your fingers along 3 to 4 rib spaces. Repeat daily.
-
7. Lower back-lumbar release to free diaphragmatic attachment
Why it helps: The diaphragm attaches to the lumbar spine. Tight lumbar fascia can restrict diaphragmatic descent and contribute to breathlessness.
How to do it: Use a foam roller under the low back, slowly roll for 1 to 2 minutes, pausing on tender spots for 20 seconds while breathing deeply. Or try a clinician-applied myofascial release in the prone position for targeted release.
-
8. Scar tissue release after thoracic or abdominal surgery
Why it helps: Surgical scars can tether fascia and restrict respiratory mechanics. Gentle scar mobilization often reduces tightness and improves chest expansion.
How to do it: Once the wound is fully healed, use silicone gel sheets or gentle circular friction with clean hands along the scar for 2 minutes, 2 times daily. If the scar is painful or overly sensitive, see a clinician for hands-on scar mobilization.
-
9. Foam roller breathing drills for chest expansion
Why it helps: Combining myofascial stretch with breath retraining reinforces better breathing patterns and creates lasting change.
How to do it: Lie on a foam roller along the spine (head supported). Inhale slowly, feeling ribs expand into gravity; pause, then exhale fully. Do 8 breaths, rest, repeat 3 sets. Use daily. This trains the diaphragm and stretches the anterior chest fascia at the same time.
-
10. Integrated breathing re-education with myofascial cues
Why it helps: Releasing fascia is great, but without retraining breathing patterns you may revert to shallow, neck-dominant breathing. Integration is essential.
How to do it: After a release session, practice diaphragmatic breathing for 5 minutes: inhale 4 seconds through the nose, pause 1 second, exhale 6 to 8 seconds through the mouth with pursed lips if you have COPD (keeps airways open). Use hands on the belly to feel the diaphragm move. Do this twice daily and after self-release sessions so the nervous system learns the new range.
How often should I do myofascial release for breathing problems?
Consistency matters. For lasting change, aim for daily short sessions and periodic hands-on care. A practical schedule I recommend is:
- Self-care: 5 to 15 minutes daily (diaphragm release, pectoral stretch, foam roller breathing).
- Hands-on therapy: 1 session per week for the first 4 weeks, then reassess. Many people benefit from 4 to 8 clinician sessions.
- Maintenance: 2 to 3 self-care sessions per week after the initial improvement is sustained.
Be practical – something you’ll actually do beats perfection. If you’re short on time, 5 minutes of focused work each morning gives measurable benefit.
Safety, red flags, and when to see a professional
Myofascial work is low risk when done gently, but there are important exceptions. Don’t attempt deep rib or abdominal pressure if any of the following apply:
- Unstable or severe asthma attack, acute COPD exacerbation, or oxygen saturation below your prescribed target
- Fever, active infection, or open wounds in the treatment area
- Recent thoracic surgery, sternal instability, or implanted devices without clinician clearance
- Known or suspected blood clots, severe osteoporosis, or uncontrolled cardiovascular disease
- New, severe chest pain, sudden worsening shortness of breath, fainting, or coughing up blood – seek emergency care
If you’re unsure, get a quick check with your primary care provider or respiratory therapist before starting. And if manual work feels intense or makes breathing worse, stop and consult a clinician. Safety first – always.
Frequently Asked Questions
Is myofascial release safe for people with asthma?
Generally yes, when done gently and not during an active asthma attack. It can reduce accessory muscle overuse and chest tightness, making breathing feel easier. Still, keep your rescue inhaler close and stop if wheeze or tightness increases. Coordinate with your asthma action plan.
Can myofascial release replace inhalers or oxygen for COPD?
No. Myofascial release helps the mechanical side of breathing – chest wall mobility and muscle efficiency – but it does not treat airway inflammation or severe lung damage. Use it as an adjunct to medical therapy to improve comfort and function.
How long until I notice improvement in breathlessness?
Some people feel immediate relief after one session; many notice gradual improvement over 2 to 6 sessions plus daily self-care. If there’s no change after 6 to 8 weeks of consistent work, reassess with your clinician for other causes.
Can I do these techniques at home safely?
Yes, most of the techniques above are safe for home use if you follow the precautions. Start gently, stay within comfort, and avoid deep pressure over the chest if you have surgical history or bone disease. If unsure, see a trained therapist for initial instruction. Learning proper hand placement and pressure reduces risk and speeds progress.
Will my breathing training change how my lungs function long-term?
Breathing training plus myofascial release can improve mechanics, endurance, and perceived breathlessness, which often leads to better activity tolerance and quality of life. For measurable lung function numbers (like spirometry), changes can be modest but subjective improvements in dyspnea are common and meaningful.
Closing thoughts
Real talk – breathing problems are frustrating and scary sometimes, but you don’t have to live with constant tightness. Myofascial release offers practical, low-risk tools to free your chest, retrain your breathing, and reduce the daily work of breath. Start simple: a few minutes of diaphragm release and gentle chest opening daily, add foam roller breathing and neck release, and get hands-on care if you need skilled help. If this feels overwhelming, our team can handle the hands-on sessions and design a short home program for you – so you can focus on breathing easier and getting back to what matters.